Flask模板详解
下面是该模板文件的内容:
<html>
<head>
<title>模板hello</title>
</head>
<body>
你正在使用模板hello<BR>
</body>
</html>
下面是在代码中使用该模板的方法:
from flask import Flask, url_for, render_template
app1 = Flask('first_flask_demo')
@app1.route('/')
def index():
    return render_template('hello.html')
if __name__ == '__main__':
    app1.run(debug=True, host='0.0.0.0', port=8080)
在浏览器中输入 http://localhost:8080/,便可以看到模板文件的内容了,如图 1 所示。
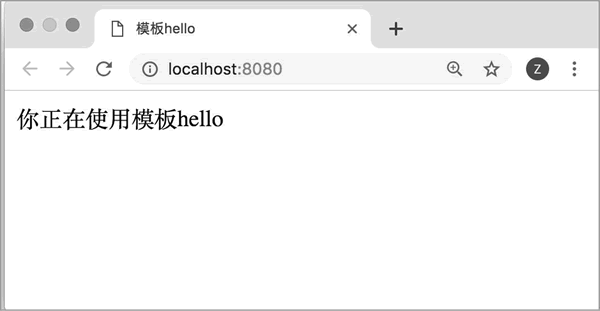
图 1 模板的效果
这种使用模板的方法是比较简单的,只是将要输出的 html 放到单独的文件中去了。但是默认动态功能,比如说不同人看见的内容是不同。Flask 使用的是 jinja 模板,它是支持这种动态的。
模板一般包含两个动态元素,一个是变量,一个是表达式。
变量
如果需要在页面中显示欢迎人的名字,可以使用 {{变量名}} 来表示。例如,可以将前面的模板文件修改为:
<html>
<head>
<title>模板hello</title>
</head>
<body>
你({{username}})正在使用模板hello<BR>
</body>
</html>
from flask import Flask, url_for, render_template
app1 = Flask('first_flask_demo')
@app1.route('/<user_name>')
def index(user_name):
    return render_template('hello2.html', username=user_name)
if __name__ == '__main__':
    app1.run(debug=True, host='0.0.0.0', port=8080)
运行该代码后,在浏览器中输入 http://localhost:8080/alex,就可以看到“你(alex)正在使用模板hello”这样的输出,如图 2 所示。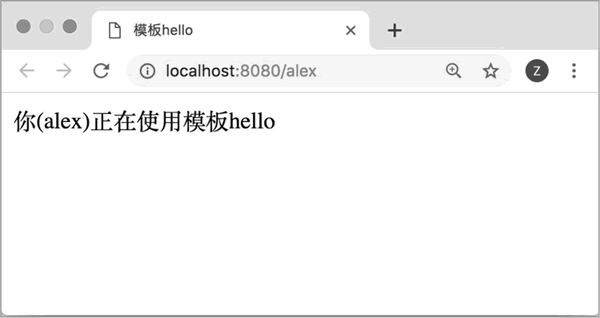
图 2 模板变量使用效果
表达式
表达式需要放在 {% 和 %} 之间。我们可在这里放任意的 Python 语句。1) for表达式
模板内容如下:
<html>
<head>
<title>模板演示</title>
</head>
<body>
<ul id="navigation">
{% for item in href_list %}
<li><a href="{{ item.href }}">{{ item.caption }}</a></li>
{% endfor %}
</ul>
</body>
</html>
from flask import Flask, url_for, render_template
app1 = Flask('first_flask_demo')
@app1.route('/')
def index():
    data = [
        {"href":"back.html", "caption":"back"},
        {"href":"forward.html", "caption":"forward"},
    ]
    return render_template('hello3.html', href_list=data)
if __name__ == '__main__':
    app1.run(debug=True, host='0.0.0.0', port=8080)
在浏览器中输入地址 http://localhost:8080/,可以看到如图 3 所示的内容。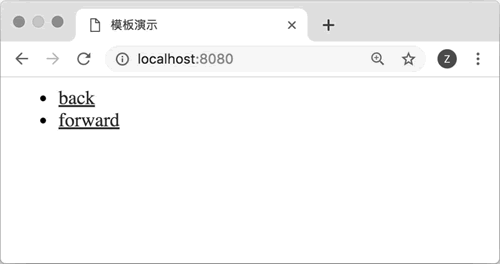
图 3 带有for语句的模板
2) if表达式
需要将 if 表达式放到 {% 和 %} 之间,还可以放入 else、endif、elif 等语句,endif 表示表达式结束。下面是一个模板的例子,代码如下:
<!doctype html>
<html>
<head>
<title>if语句在模板中的使用</title>
</head>
<body>
hello,
{% if gender=='male' %} # if
Mr.
{% else %} # else
Ms.
{% endif %} # endif
{{ name }},
you are {{ age }} years old now.
</body>
</html>
from flask import Flask, url_for, render_template
app1 = Flask('first_flask_demo')
@app1.route('/')
    def index():
    args = {                            # 给模板的参数
        'name': "alex",
        'gender': "male",
        'age': 18
    }
    return render_template('ifdemo1.html', **args)        # 使用模板
if __name__ == '__main__':
    app1.run(debug=True, host='0.0.0.0', port=8080)
现在在浏览器中输入地址 http://localhost:8080/,便可以看到如图 4 所示的内容。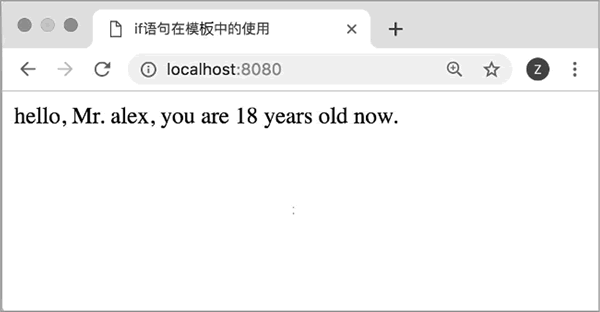
图 4 if语句在模板中的使用
子模板
有一个基础模板叫作 layout.html,其内容如下:
<!doctype html>
<html>
<head>
{% block head %}
<link rel="stylesheet" href="{{ url_for('static', filename=
'style.css') }}">
<title>{% block title %}{% endblock %} - python_in_one</title>
{% endblock %}
</head>
<body>
<div id="content">{% block content %}{% endblock %}</div>
<div id="footer">
{% block footer %}
© Copyright 2019 by <a href="http://lovepython.cn/">
lovepython</a>.
{% endblock %}
</div>
</body>
</html>
下面定义一个派生的模板,命名为 subtemplate1.html,其内容如下:
{% extends "layout.html" %}
{% block title %}首页{% endblock %}
{% block head %}
{{ super() }}
<style type="text/css">
.important { color: #336699; }
</style>
{% endblock %}
{% block content %}
<h1>首页内容</h1>
<p class="important">
欢迎来到Python大全网站.
{% endblock %}
from flask import Flask, url_for, render_template
app1 = Flask('first_flask_demo')
@app1.route('/')
def index():
    return render_template('subtemplate1.html')
    if __name__ == '__main__':
    app1.run(debug=True, host='0.0.0.0', port=8080)
运行该代码后,打开页面 http://localhost:8080/,可以看到如图 5 所示的内容。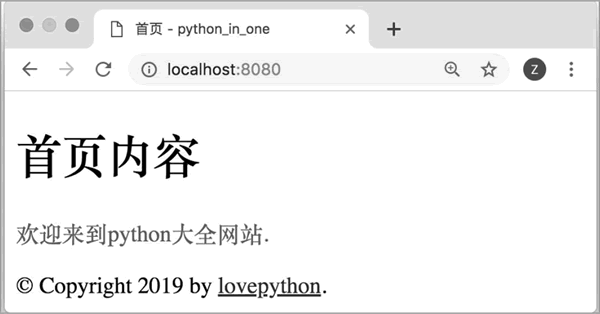
图 5 子模板的使用
声明:《Python系列教程》为本站“54笨鸟”官方原创,由国家机构和地方版权局所签发的权威证书所保护。
 ICP备案:
 公安联网备案: